


 1970-01-01 08:00:00
下载yolov7源码
源码地址:
https://github.com/WongKinYiu/yolov7
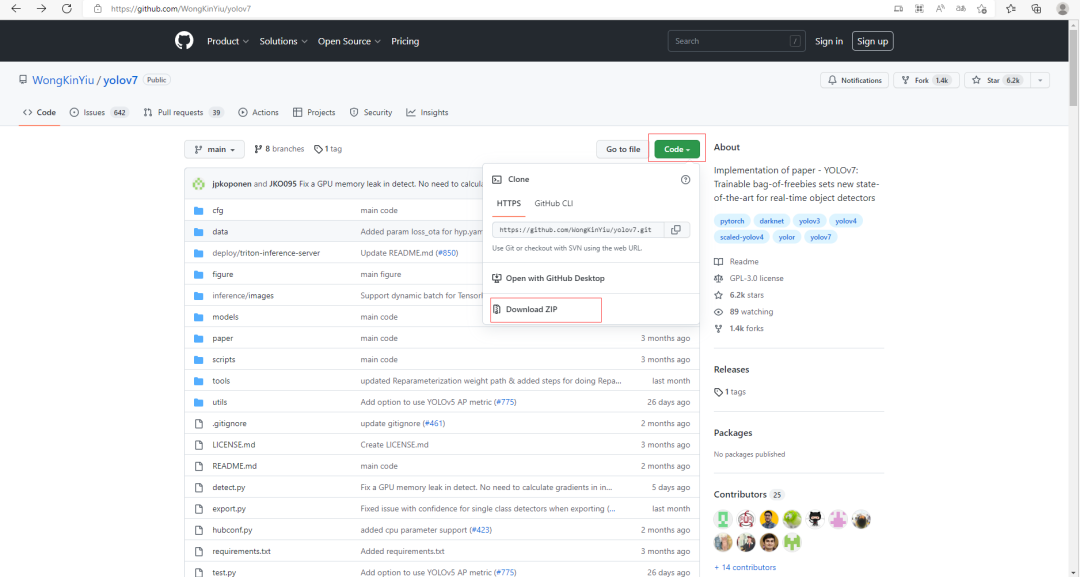
可以上github网站直接下载,也可以使用git命令进行下载,本次教程下载源码的时间是2022.10.13,项目在不断更新,因此不同时间下载,源代码稍有不同(目前只有一个版本,后续应该会出现新版本)。
下载得到的源码压缩包:

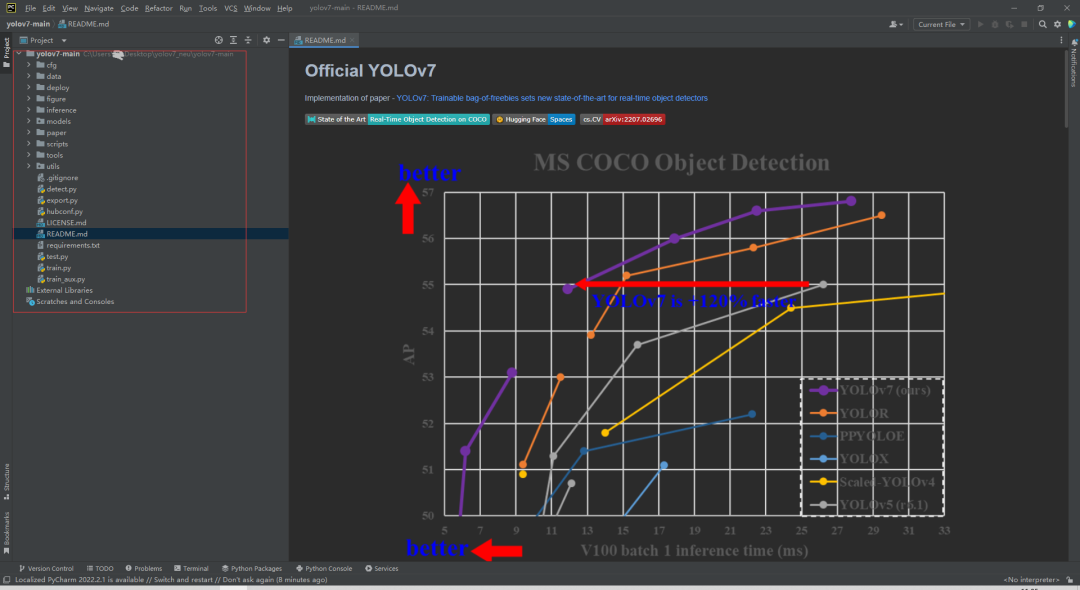
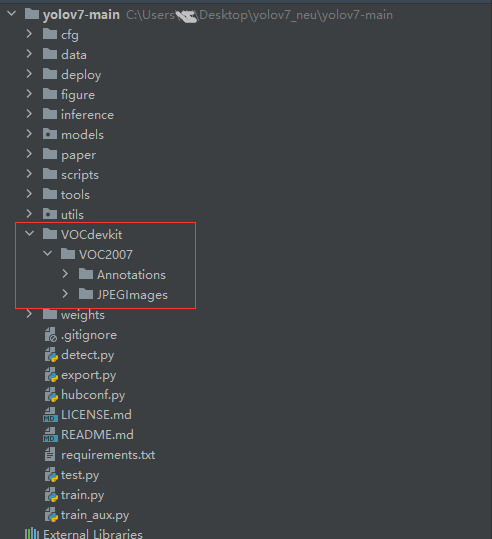
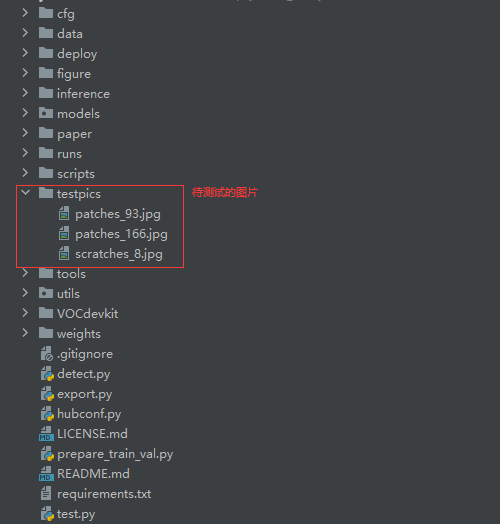
本地解压后,使用PyCharm打开,项目结构如下:
配置环境
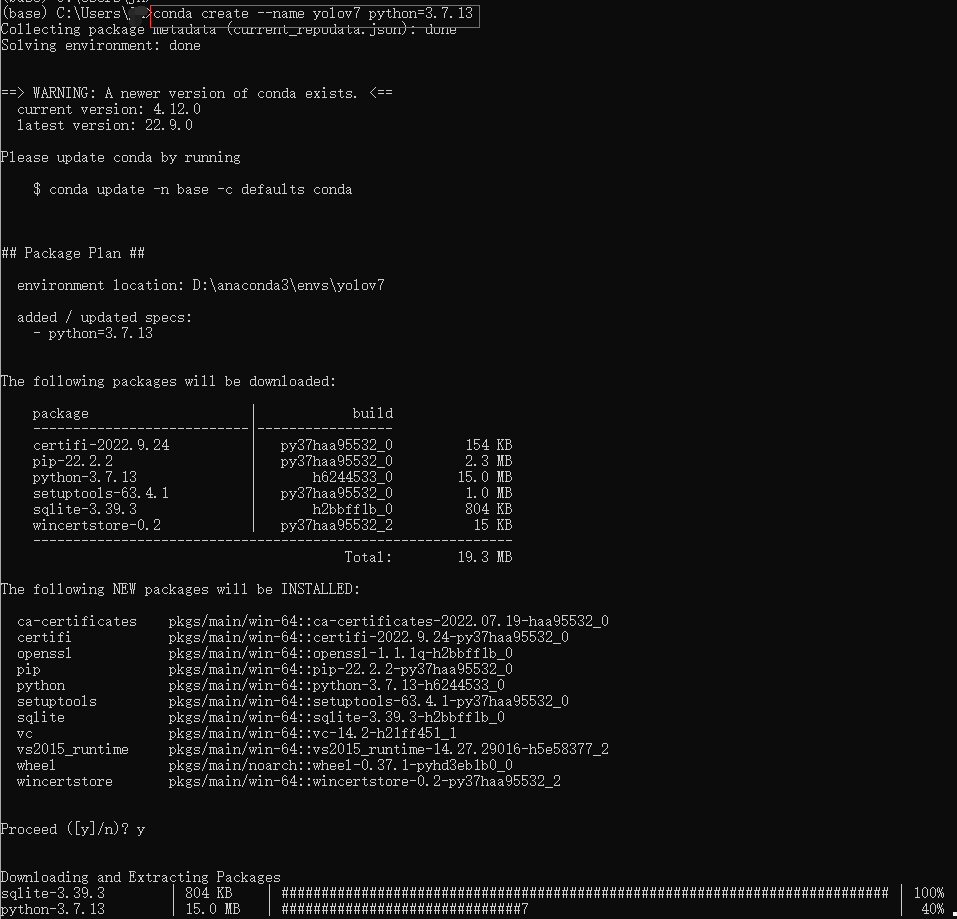
2.1创建虚拟环境
为本项目新建一个虚拟环境,当然,也可以使用现有的环境;新建环境的好处是避免破坏之前项目的环境:
conda create --name yolov7 python=3.7.13
yolov7虚拟环境新建好之后,激活它:
conda activate yolov7
这样,我们就可以在yolov7虚拟环境下安装一系列的库。
根据requirements.txt中的内容,安装依赖库。
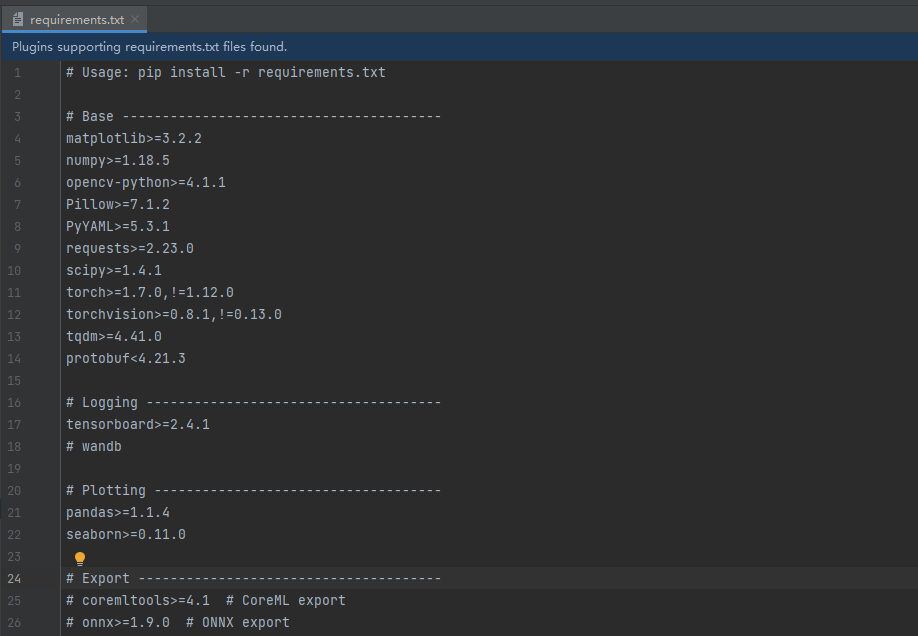
2.2安装依赖库
例如安装torch、torchvision:
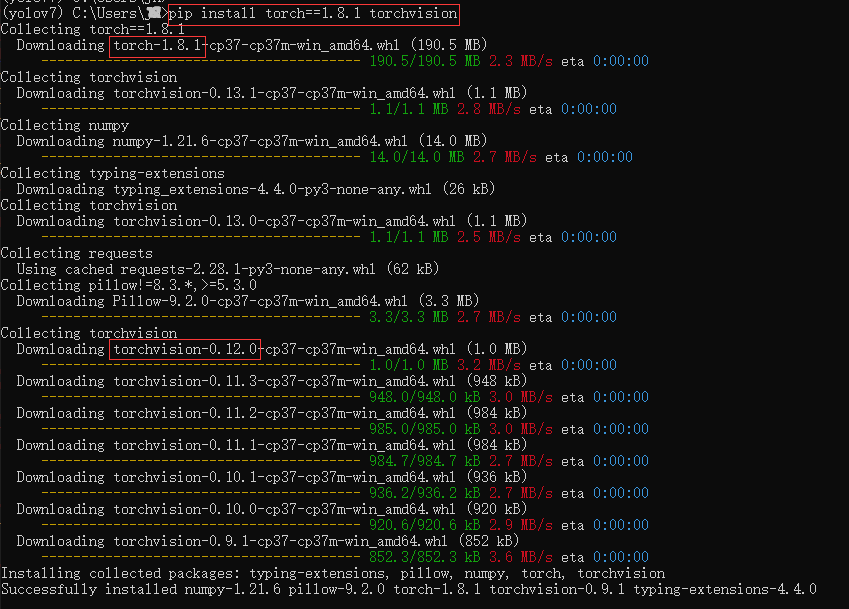
查看pytorch是否安装成功:

可以导入,说明安装成功;显示False,说明安装的是CPU版本,无法使用GPU资源。
先查看以下,Windows系统上的显卡是否正常,打开终端输入命令:
nvidia-smi
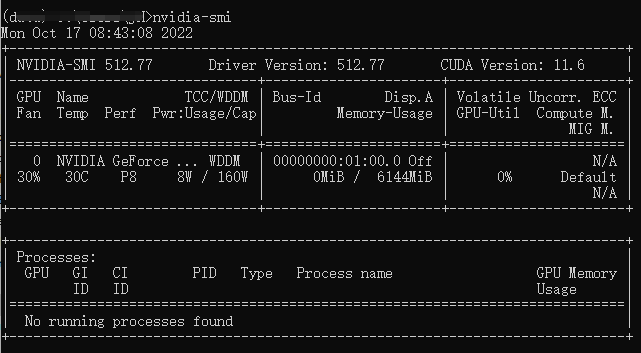
CUDA版本:11.6驱动版本:512.77显卡型号:
Windows系统机器上有GPU资源,因此我们安装可以使用GPU资源的pytorch。
先卸载刚才安装的torch、torchvision:
pip uninstall torch
pip uninstall torchvision
登录pytorch官网https://pytorch.org/:
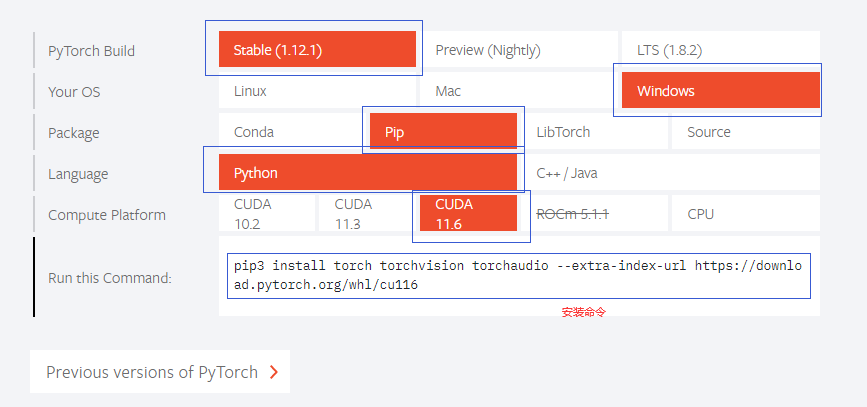
根据需要选择对应的CUDA版本、安装方式、系统等,生成安装命令:
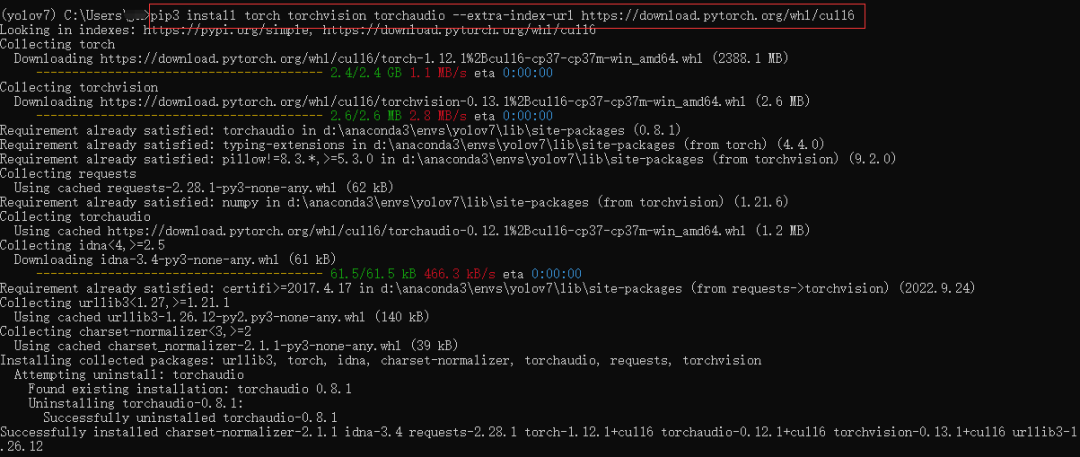
安装结束后,查看GPU版本的pytorch是否可用:

显示True,说明GPU版本的pytorch安装成功。剩余依赖库的安装不再赘述。
2.3下载权重
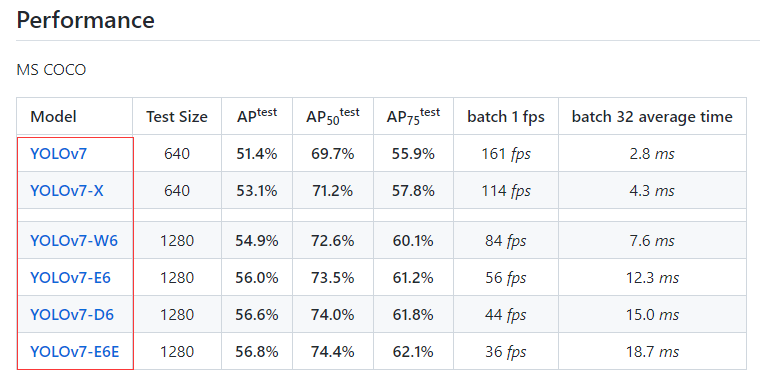
yolov7有不同的模型结构,因此提供了不同的预训练权重文件:
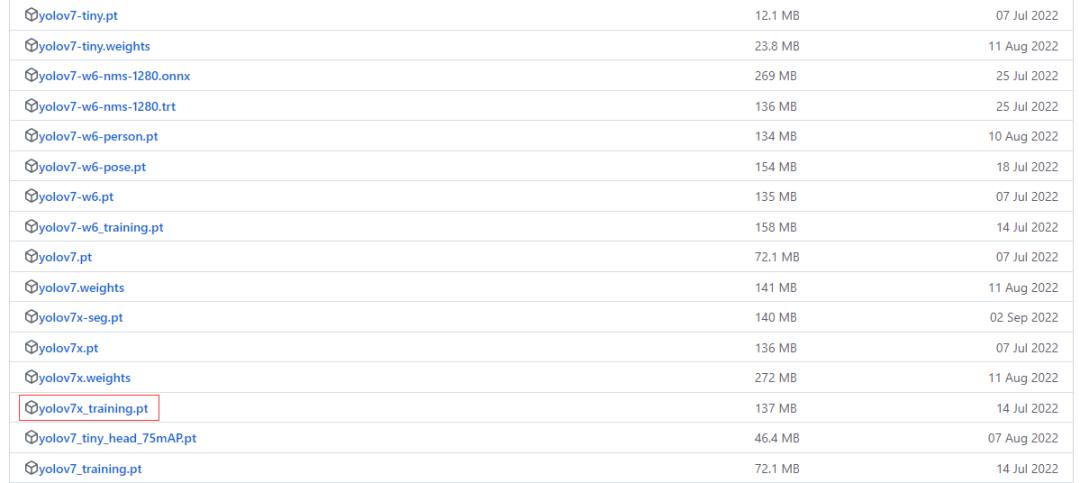
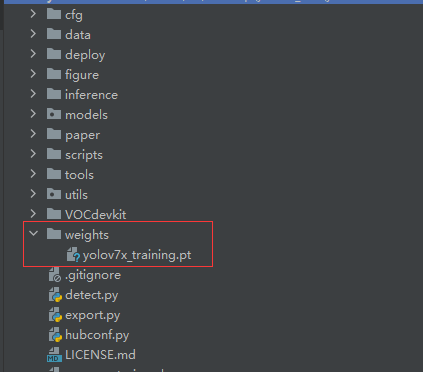
本教程使用yolov7x_training.pt预训练权重,下载权重文件后放入新建的weights文件夹下:
2.4测试环境
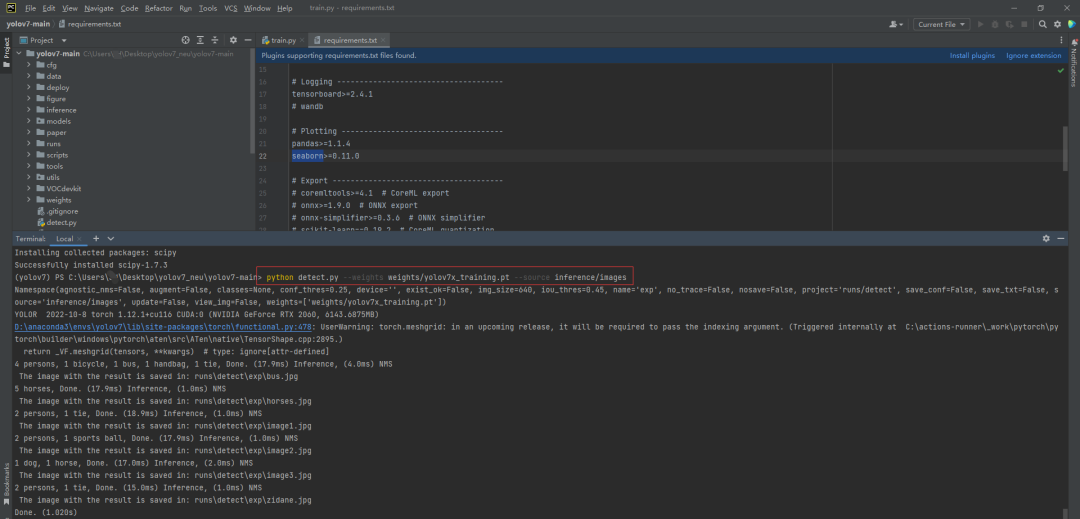
打开终端输入命令,测试配置环境是否可用:
python detect.py --weights weights/yolov7x_training.pt --source inference/images
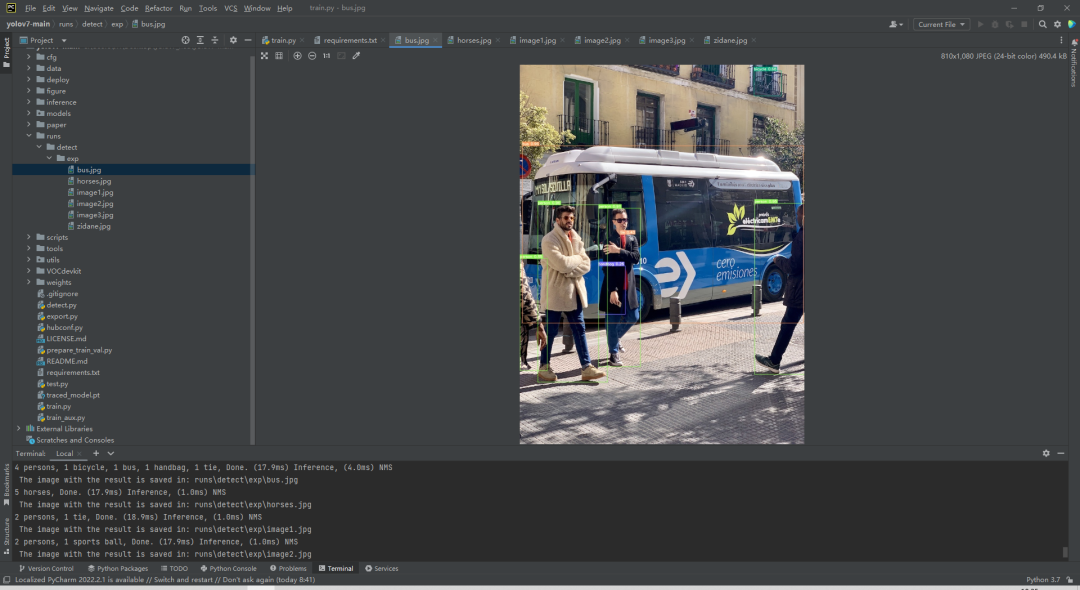
如果看到以下运行结果,说明环境配置成功:
如果出现如下提示信息,说明缺少依赖库:
ModuleNotFoundError: No module named xxx
请根据提示信息,使用pip命令安装依赖库:
pip install xxx
测试图片的检测结果保存在runs/detect/exp/文件夹下:
准备数据集
3.1数据集介绍
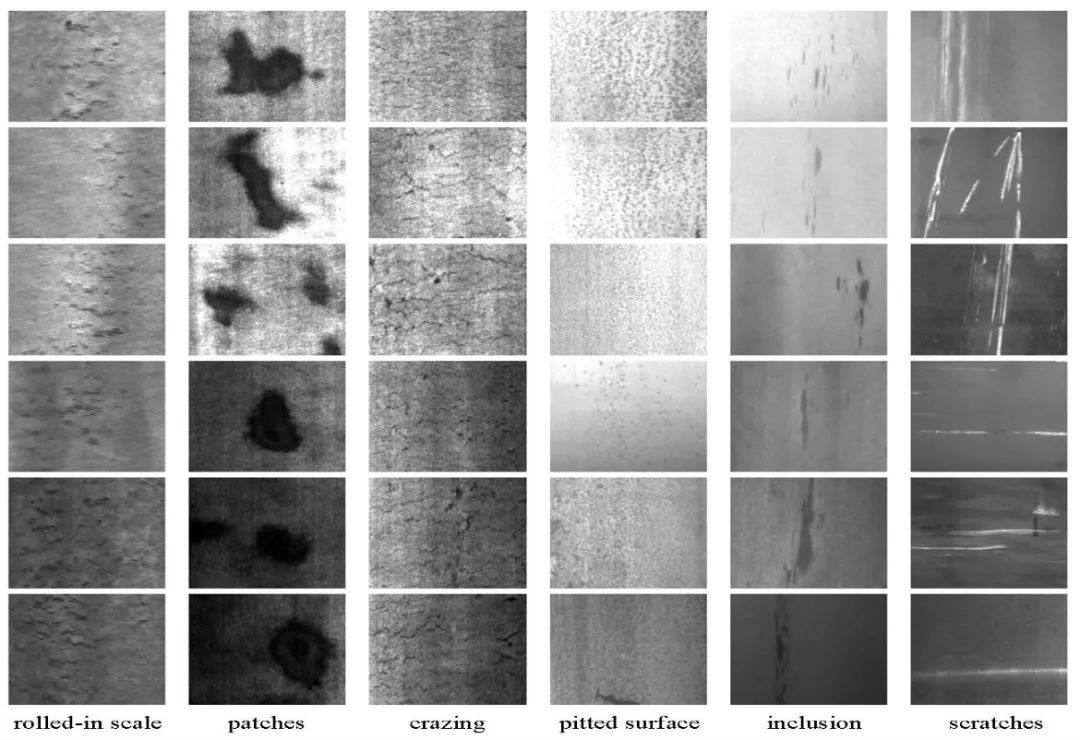
本教程使用的是东北大学带钢表面缺陷检测数据集,该数据集收集了夹杂、划痕、压入氧化皮、裂纹、麻点、斑块6种缺陷,每种缺陷300张图片,图片的尺寸为200×200。
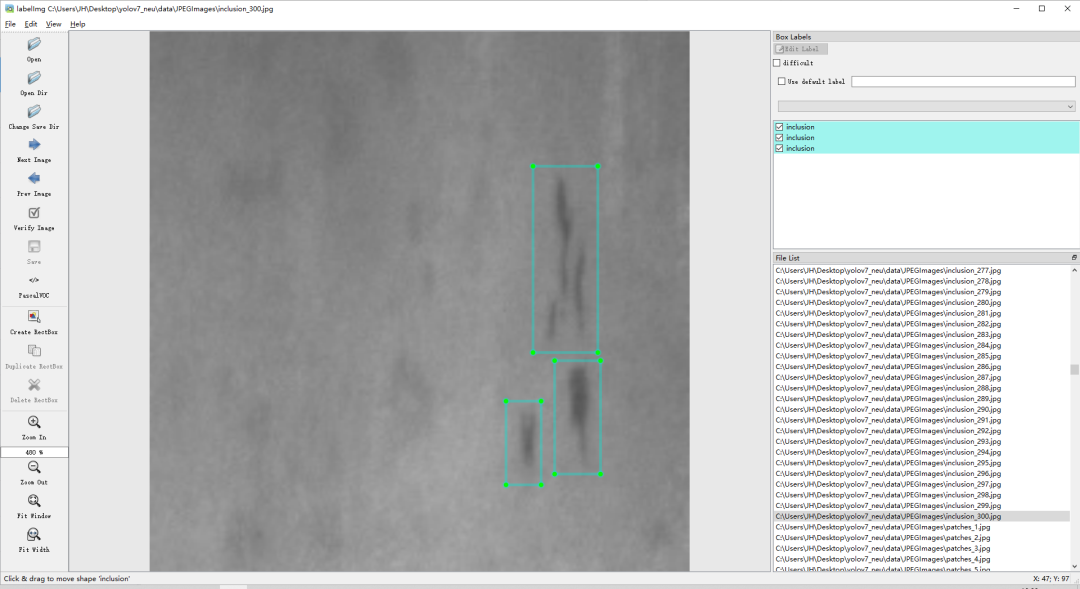
每张图片对应一个xml文件:
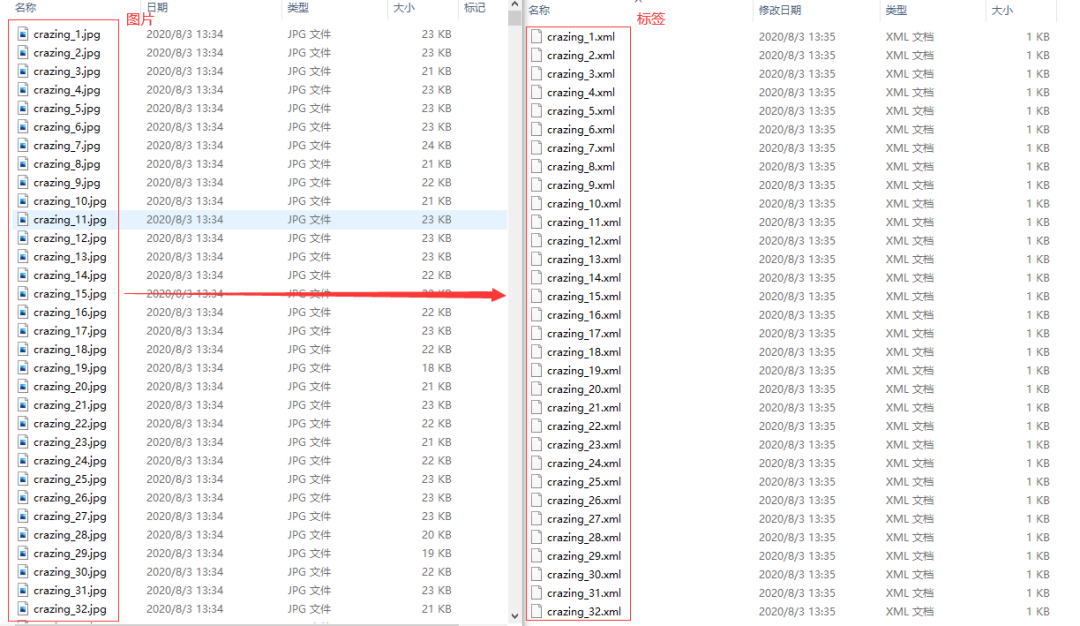
使用labelimg标注工具查看数据:
注:没有labelimg工具的朋友,可以打开本地的Anaconda Prompt窗口进行安装
安装命令为:
pip install labelimg
使用命令:

本数据集在之前的文章中介绍过,想获取数据集的朋友可以查看公众号之前发布的文章:【表面缺陷检测】表面缺陷检测数据集汇总。
将数据集放在项目目录下:
3.2数据集转换
编写一个prepare_train_val.py脚本,实现xml文件格式转为yolo文件格式,并实现数据集的划分:
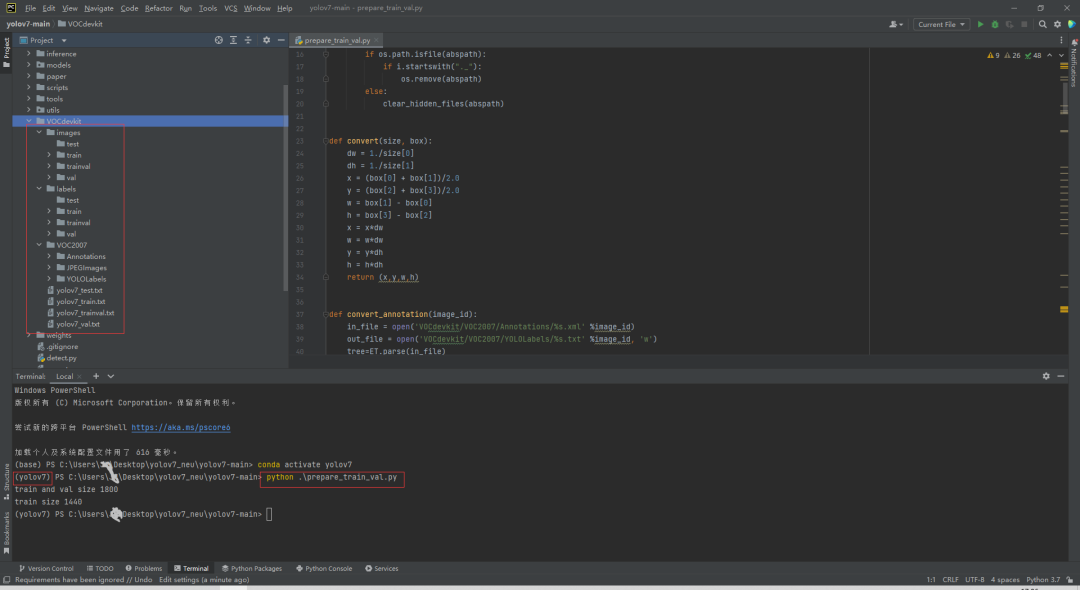
将数据集划分为训练集和验证集,总体结构如下:VOCdevkit --images --train --xxx_1.jpg --xxx_2.jpg --val --xxx_3.jpg --xxx_4.jpg --labels --train --xxx_1.txt --xxx_2.txt --val --xxx_3.txt --xxx_4.txt
prepare_train_val.py代码获取:https://blog.csdn.net/AugustMe/article/details/127320880
配置文件
在data文件夹下新建一个voc_neu.yaml文件(可以自定义命名):
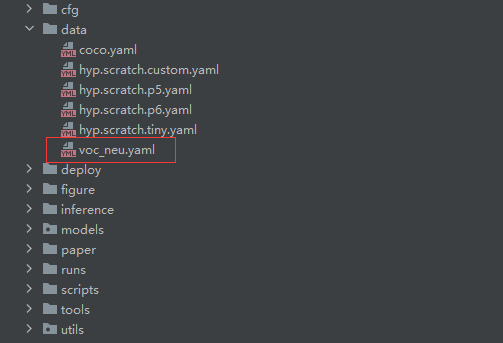
写入内容如下:
# 注意路径,否则会报错
train: C:\Users\Z\Desktop\yolov7_neu\yolov7-main\VOCdevkit\images\train
val: C:\Users\Z\Desktop\yolov7_neu\yolov7-main\VOCdevkit\images\val

nc: 6
names: ['crazing', 'inclusion', 'patches', 'pitted_surface', 'rolled-in_scale', 'scratches']
由于yolov7提供了好几个模型:
我们每一次训练只能使用一个,因此需要在cfg/training/(和cfg/deploy/文件夹下的并不是一样的,后面慢慢介绍)文件夹下选一个模型:
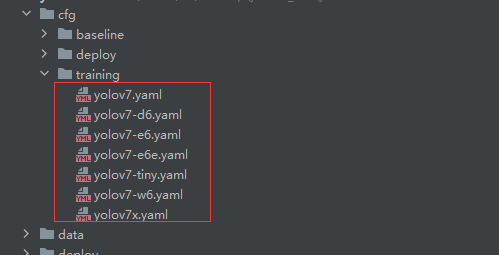
我们选用yolov7x模型,将yolov7x.yaml的内容复制到新建的yolov7x_neu.yaml,并修改类别数量:
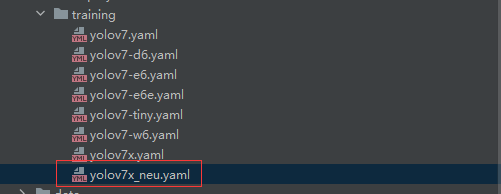 新建的yolov7x_neu.yaml
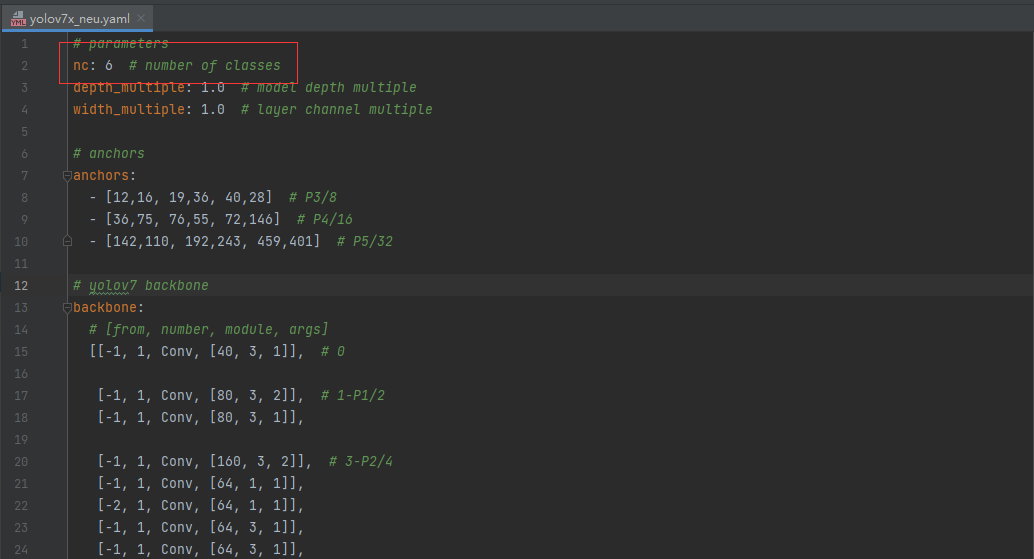 yolov7x_neu.yaml中的内容
训练
切换到项目所在目录,执行命令:
# 指定预训练权重、模型结构、图片路径、训练轮数、批次大小、图片大小
python train.py --weights weights/yolov7x_training.pt --cfg cfg/training/yolov7x_neu.yaml --data data/voc_neu.yaml --epochs 100 --batch-size 8 --img-size 640 --project runs/train
不出所料,报错了:
解决方法,执行命令时workers设为0(Windows系统下,num_workers设为0可以直接解决报错问题,如果不设为0,需要修改内部代码):
# 指定预训练权重、模型结构、图片路径、训练轮数、批次大小、图片大小
python train.py --weights weights/yolov7x_training.pt --cfg cfg/training/yolov7x_neu.yaml --data data/voc_neu.yaml --epochs 100 --batch-size 8 --img-size 640 --workers 0 --project runs/train
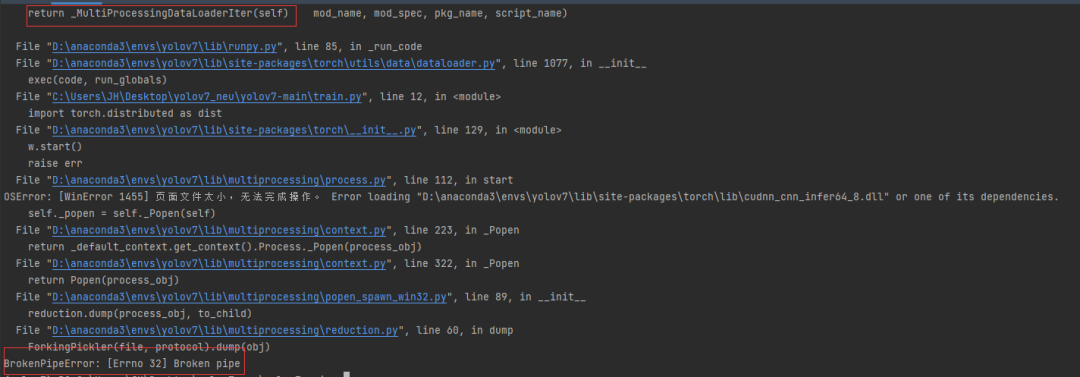
上面的问题解决了,新的问题出现了:

batch-size、img-size的大小不宜过大,否则出现内存溢出的错误;将batch-size设为4,img-size设为320,执行下面的训练命令:
# 指定预训练权重、模型结构、图片路径、训练轮数、批次大小、图片大小
python train.py --weights weights/yolov7x_training.pt --cfg cfg/training/yolov7x_neu.yaml --data data/voc_neu.yaml --epochs 100 --batch-size 4 --img-size 320 --workers 0 --project runs/train
开始训练:
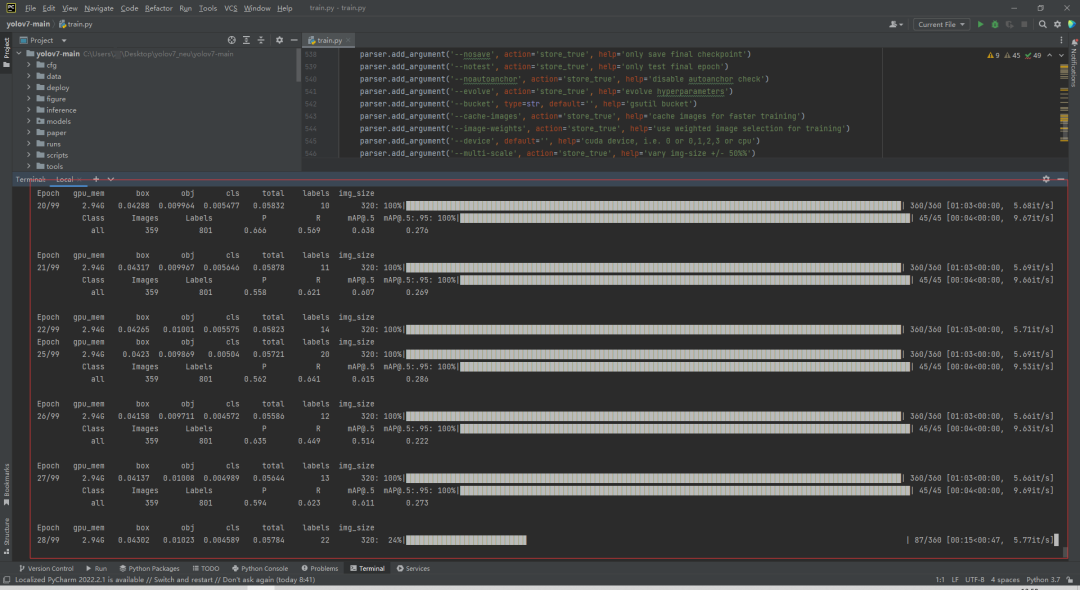
查看GPU使用情况:
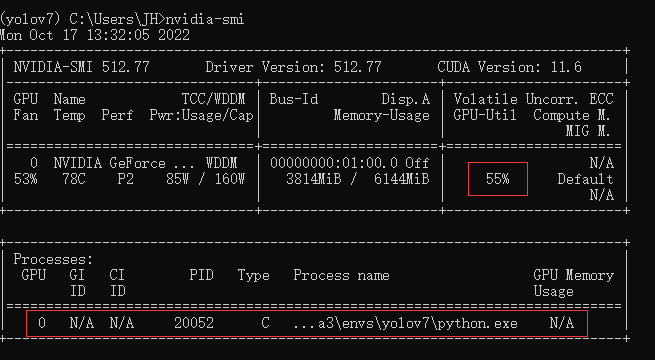
Windosw系统上只有一块NVIDIA GeForce RTX 2060显卡,显存为6GB,因此batch-size、img-size不能设太大,否则会出现上面提到的内存溢出问题。如果有两张Tesla V100或Tesla P100,可以将batch-size设为64,img-size设为640。
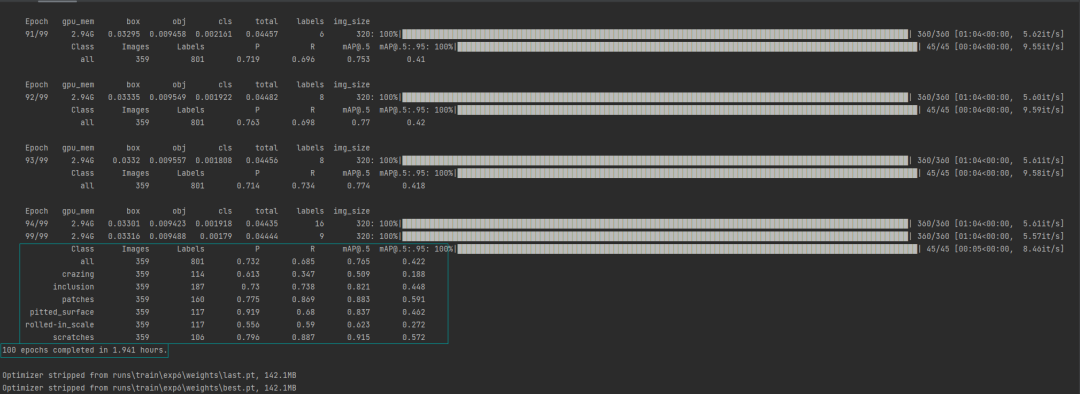
训练结束后,验证集上各个缺陷指标数据:
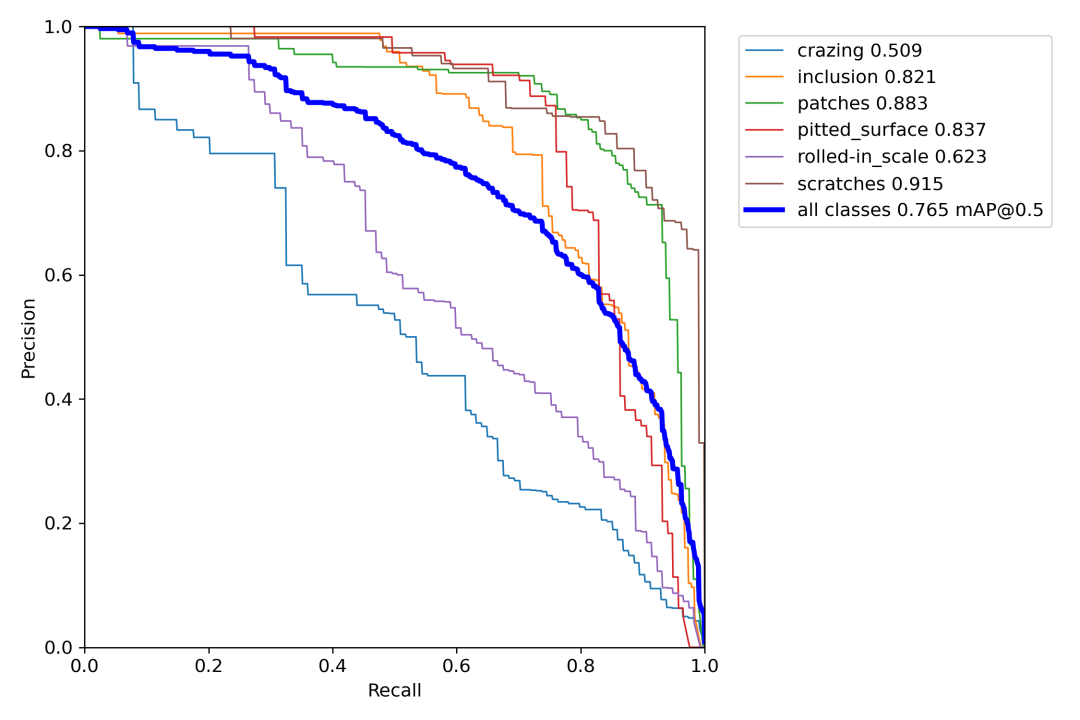
验证集上PR曲线:
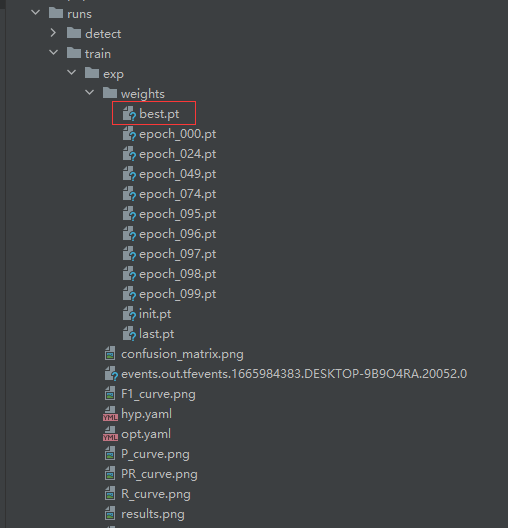
训练好的模型保存在runs/train/exp/weights/目录下:
测试
将待测试的图片放入testpics文件夹:
执行测试命令:
# 指定训练好的模型、测试图片路径、图片大小
# 检测多张
python detect.py --weights runs/train/exp/weights/best.pt --source testpics --img-size 320 --project runs/detect
# 检测单张
python detect.py --weights runs/train/exp/weights/best.pt --source testpics/patches_166.jpg --img-size 320 --project runs/detect
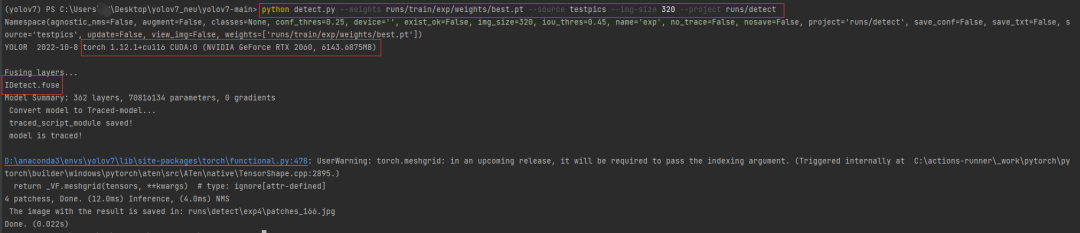
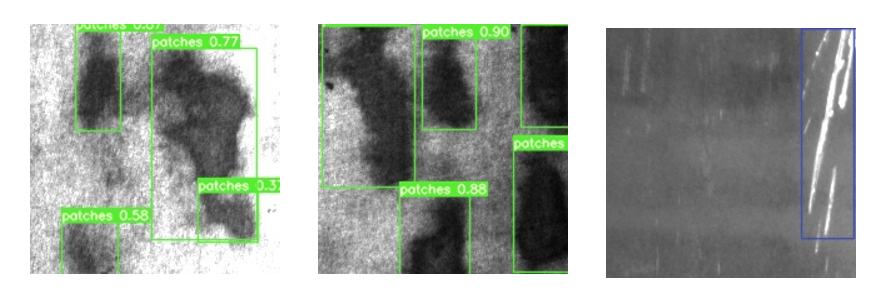
在runs/detect/文件夹下查看检测结果:
结论
在Windows系统下,我们使用一张NVIDIA GeForce RTX 2060显卡,训练基于yolov7钢板表面缺陷检测模型,花费了近2个小时,验证集上六个缺陷类别的mAP@0.5为0.765,总体上可以实现缺陷的检测。其实,这个数据集的质量也不是很高,才导致各项指标不是特别高。永远记住:数据决定上限,模型决定下限。
看到这里了,用你那发财的小手,给我点一个赞再走呗。
参考资料
[1]https://github.com/WongKinYiu/yolov7[2]https://zhuanlan.zhihu.com/p/547878330
 关注公众号
关注公众号
 计算机视觉研究院
 集智书童
集智书童
 极市平台
极市平台
 Jack Cui